Table of Contents
Open Table of Contents
- iPhone Camera Settings for Better Photos: The Complete 2026 Guide
- Quick Settings Cheat Sheet
- Start With Resolution, Not Filters
- Photographic Styles: The Setting Most People Never Touch
- Turn On the Grid — It’s Free Composition Coaching
- Night Mode and Low-Light Shooting
- ProRAW: Only If You Actually Edit
- Two Settings That Save You Real Time
- Which iPhone Supports Which Setting
- FAQ
- Methodology and Sourcing
iPhone Camera Settings for Better Photos: The Complete 2026 Guide
Most people buy an iPhone for the camera, then never touch a single setting. That’s a waste. Apple ships every iPhone with defaults built for the average user in average light — not for someone who actually wants their photos to look intentional. A handful of changes, most of them two taps deep in the Settings app, separate a flat, oversharpened phone photo from one that looks shot with real craft.
This isn’t a list of gimmicks. It’s the settings that actually move the needle, plus why each one matters and when to leave it alone — and where storage, data costs, and everyday shooting conditions in Nigeria change the calculus.
Quick Settings Cheat Sheet
If you only have two minutes before a wedding, a market run, or a birthday party, set these and go:
| Setting | Recommended | Where to find it |
|---|---|---|
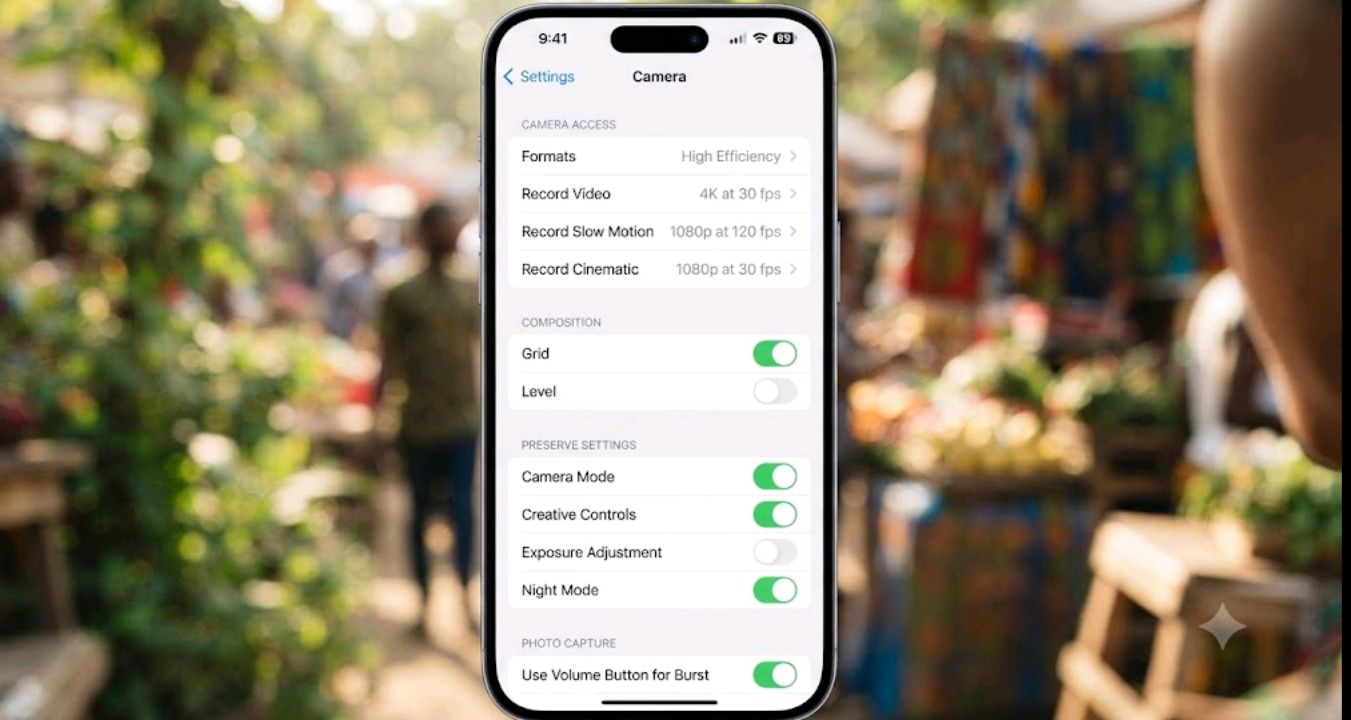
| Resolution | 24MP | Settings > Camera > Formats |
| Photographic Style | Rich Contrast | Camera app > arrow > Styles |
| Grid | On | Settings > Camera |
| Preserve Settings | On (all modes) | Settings > Camera > Preserve Settings |
| ProRAW | Only if you edit afterward | Settings > Camera > Formats |
| Night Mode | Auto (adjust manually indoors) | Camera app > moon icon |
The rest of this guide breaks down why each of these is the right call, and when to deviate from it.
Start With Resolution, Not Filters
The single biggest quality decision on any iPhone with a 48MP sensor (14 Pro and later, plus the standard 15 and 16 lineups) is resolution. By default, these phones shoot at 24MP, not 48MP — Apple’s Fusion Camera pipeline pixel-bins and combines sensor data into a lower-resolution image to balance detail, dynamic range, and file size for everyday sharing. That default is genuinely well-tuned for most photos. But for landscapes, market scenes, events, or anything you’ll crop or print later, switching to full 48MP capture keeps detail you’d otherwise lose in the binning process.
Go to Settings > Camera > Formats and turn on Resolution Control (or ProRAW & Resolution Control on Pro models). This unlocks a toggle right inside the camera app to switch between 12MP, 24MP, and 48MP on the fly.
| Resolution | Best for | File size (approx.) | Storage cost |
|---|---|---|---|
| 12MP | Everyday shots, WhatsApp, quick posts | 2–4MB | Low |
| 24MP | The daily-driver sweet spot — more detail, still efficient | 4–8MB | Moderate |
| 48MP / ProRAW | Landscapes, events, anything you’ll crop or edit | 25–75MB | High |
Storage and data cost matter more here than the spec sheet suggests. Most iPhones sold in Nigeria are the 128GB base variant, and a single day at a wedding or a naming ceremony shooting in 48MP or ProRAW can eat several gigabytes fast — space that’s gone for good if you’re not backing up regularly. There’s also the sharing reality: almost every photo taken here ends up compressed and sent over WhatsApp anyway, where file size gets slashed regardless of what you shot at, so 48MP buys you nothing for that particular photo beyond the original stored on your phone. And with iCloud storage plans priced in dollars, filling your device with 75MB ProRAW files means either paying for more iCloud space or manually offloading photos to a laptop or hard drive more often — not always convenient if NEPA has been inconsistent and you’re relying on your phone as your main device for days at a time.
The practical approach: shoot 24MP for daily use — parties, markets, general documentation — and reserve 48MP or ProRAW for the handful of shots you actually plan to edit or print, like standout portraits or landscape shots from a trip. If you’re shopping for a device with more breathing room for high-resolution shooting without stressing your storage, our guide to the best iPhones under ₦300k in 2026 covers which models balance storage and camera quality without overspending.
Photographic Styles: The Setting Most People Never Touch
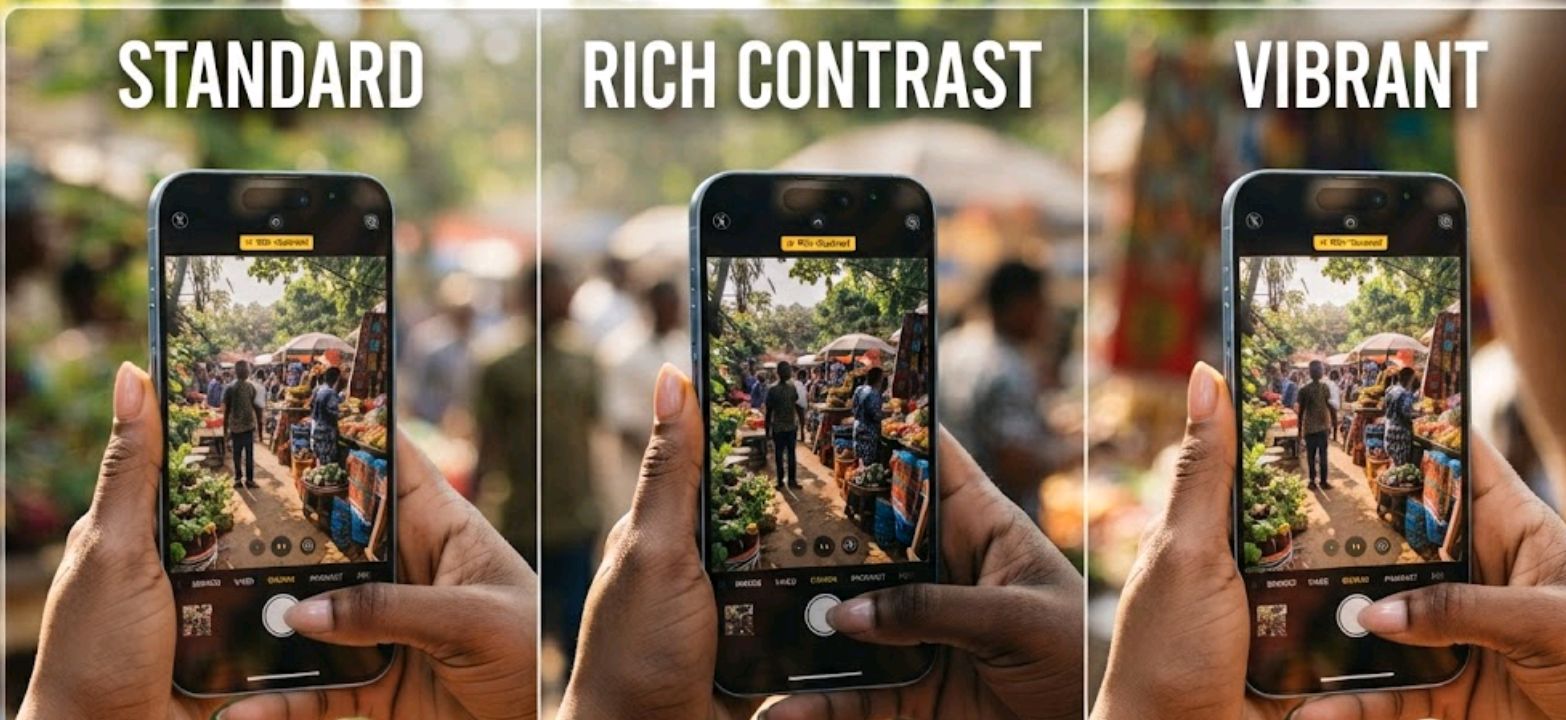
Photographic Styles, available from the iPhone 13 onward, aren’t filters. Filters get applied after the fact and often wreck skin tones. Styles work inside Apple’s image processing pipeline itself, adjusting tone and warmth intelligently based on what’s actually in the frame — so a portrait’s skin tones stay natural even as the overall mood shifts.
To set one: open the Camera app, tap the arrow at the top, then tap the overlapping-squares icon and swipe through the options — Standard, Rich Contrast, Vibrant, Warm, and Cool are the usual picks. Rich Contrast in particular fixes the “flat” look that a lot of newer, larger sensors produce straight out of the box. Once set, it applies automatically to every photo until you change it, so pick one and stay consistent rather than swapping per shot.
Turn On the Grid — It’s Free Composition Coaching
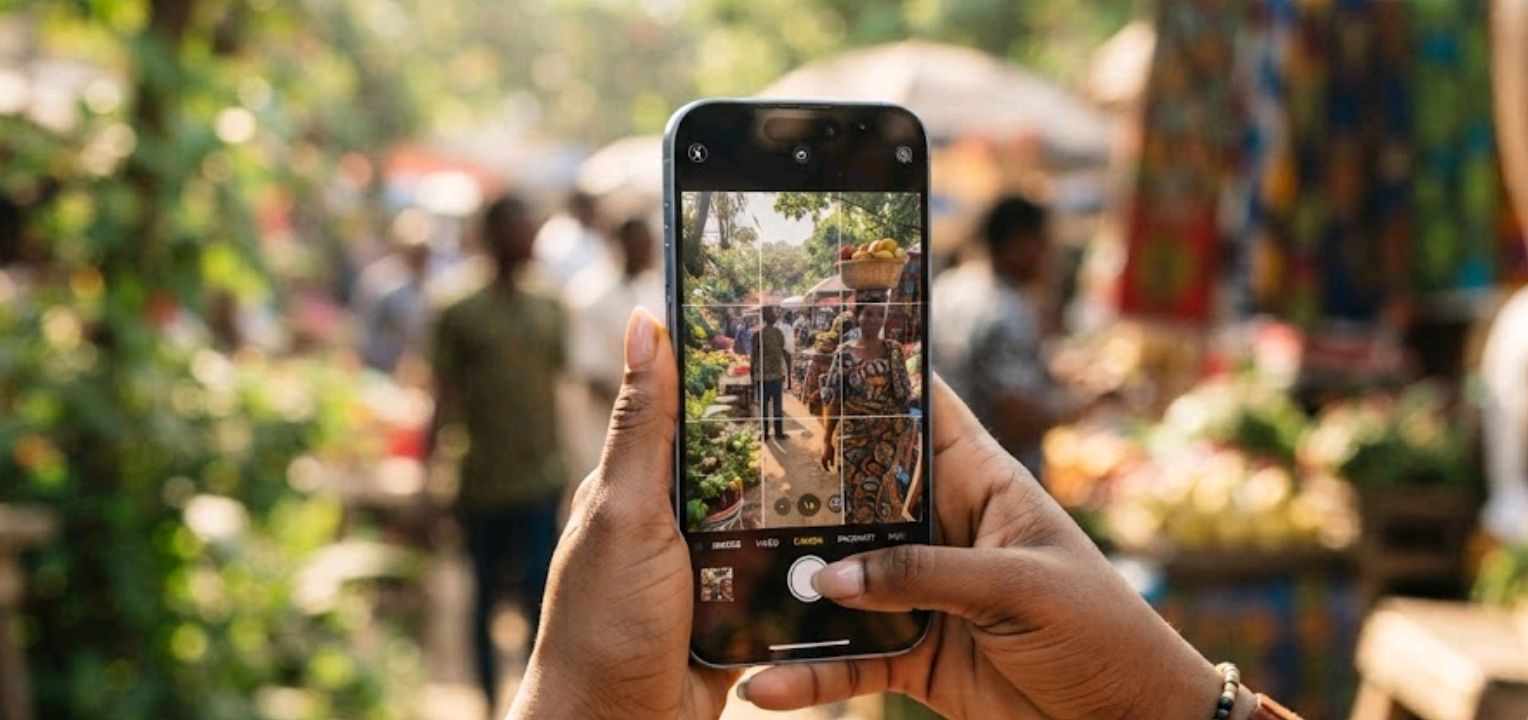
Settings > Camera > Grid. This overlays a 3x3 rule-of-thirds grid on your viewfinder. Instead of centering every subject dead-center out of habit, you position them where the lines intersect, which is where the eye naturally lands. It costs nothing, takes five seconds to enable, and is the fastest single upgrade to how “composed” your photos look.
Night Mode and Low-Light Shooting
Night Mode activates automatically in dim conditions, but you can control its intensity manually — tap the moon icon in the camera controls and drag the slider to extend or shorten the exposure. Longer exposures capture more light and detail but need a steady hand or a surface to rest the phone on; anything under a couple of seconds is fine handheld.
This matters more often than it should. Generator- or candle-lit gatherings, evening parties, and shots taken during a NEPA outage all push the camera into genuinely poor lighting, and Night Mode is doing real computational work in those moments — combining multiple frames to pull out detail your eyes can barely see. If a shot still comes out grainy in that kind of light, try resting the phone against a wall, table, or your other hand rather than holding it freely; even half a second of extra stability noticeably improves the result.
For anyone shooting a lot after dark — events, food photography under restaurant lighting, or general evening content — pairing the right settings with the right hardware matters more than most people assume. Our breakdown of the best phones for night photography compares how different sensors actually perform once the sun goes down, iPhones included.
ProRAW: Only If You Actually Edit
ProRAW gives you a 48MP file that behaves like a professional camera’s RAW output — full control over exposure, white balance, and color in post, with none of the baked-in processing a normal photo has. Turn it on via Settings > Camera > Formats > ProRAW & Resolution Control, then select your default resolution.
The catch: ProRAW files are 25–75MB each and demand actual editing afterward — in the Photos app, Lightroom Mobile, or similar — to look their best straight out of camera; they can look flatter than a processed HEIC. If you don’t plan to edit, it’s not worth the storage. If you already edit your photos, it’s the difference between adjusting a finished dish and adjusting the raw ingredients.
Two Settings That Save You Real Time
- Preserve Settings (Settings > Camera > Preserve Settings): keeps your last-used mode — Night Mode, Portrait, ProRAW, whatever — active the next time you open the camera, instead of resetting to default every single time.
- Volume button as shutter: press either volume button to snap a photo. It’s steadier than tapping the on-screen shutter and doubles as a burst-mode trigger if held down.
Video shooters chewing through battery with 4K 60fps footage should also check how their device holds up over a full day — our guide on iPhones with the best battery life is useful context if heavy camera use is draining your phone faster than expected. And if you’re weighing which current iPhone actually has the strongest camera system before making these settings changes worthwhile, see our top iPhones for camera quality in 2026. Budget-conscious buyers — students especially — balancing camera quality against price can also check our best iPhones for students roundup.
Which iPhone Supports Which Setting
Not every setting in this guide is available on every model. Here’s a quick compatibility check across recent iPhones:
| Feature | 13 | 14 | 14 Pro | 15 | 15 Pro | 16 | 16 Pro |
|---|---|---|---|---|---|---|---|
| Photographic Styles | ✓ | ✓ | ✓ | ✓ | ✓ | ✓ | ✓ |
| 48MP resolution | ✗ | ✗ | ✓ | ✓ | ✓ | ✓ | ✓ |
| Apple ProRAW | ✗ | ✗ | ✓ | ✗ | ✓ | ✗ | ✓ |
| Grid / Preserve Settings | ✓ | ✓ | ✓ | ✓ | ✓ | ✓ | ✓ |
The pattern: Photographic Styles, Grid, and Preserve Settings work on every model from the 13 onward. 48MP resolution needs a 48MP sensor, which arrived with the 14 Pro and later became standard on non-Pro models too, starting with the 15. ProRAW, however, has stayed exclusive to Pro and Pro Max models — the 14, 15, and 16 base models never got it, even though some of them share the same 48MP sensor as their Pro counterparts.
FAQ
Do these settings work on every iPhone model? Grid, Photographic Styles (13 and later), and Night Mode work broadly across recent models. ProRAW and full 48MP resolution control are limited to Pro and Pro Max models from the 14 Pro onward — check Settings > Camera > Formats on your specific device to confirm what’s available.
Will shooting in 48MP or ProRAW fill up my storage fast? Yes, noticeably. A single ProRAW file can run 25–75MB versus 2–4MB for a standard 12MP photo. Reserve high-resolution and ProRAW shooting for photos you specifically want to edit or print, and keep everyday shots at 12MP or 24MP.
Which Photographic Style should I use as my default? Rich Contrast is a strong general default if your photos have looked flat or washed out. Vibrant suits social-media-first shooting. Standard is safest if you want the most neutral, true-to-life color for later editing.
Does turning on Grid or Preserve Settings affect photo quality? No. Both are workflow and composition aids with zero impact on image processing or file size.
Is it worth buying a Pro model just for ProRAW and 48MP shooting? Only if you actually edit your photos afterward. Without post-processing, ProRAW files can look duller than a standard photo. If editing isn’t part of your workflow, a non-Pro model’s standard camera settings will serve you just as well for everyday use.
Methodology and Sourcing
Settings, menu paths, and feature availability referenced in this guide were verified against Apple’s official Support documentation for Photographic Styles, ProRAW, and advanced camera settings, current as of mid-2026. Model-by-model feature availability (48MP resolution, ProRAW support) was cross-checked against Apple’s published tech specs and Apple Support community threads confirming real-world behavior on non-Pro models. Supplementary context on resolution trade-offs and real-world usage patterns was cross-checked against recent camera-focused coverage from Tom’s Guide and other technology outlets. No first-person testing claims are made; all recommendations reflect documented feature behavior rather than personal shooting results.

Comments 0
Leave a comment