Table of Contents
Open Table of Contents
Overview
Samsung’s camera app includes dozens of settings, but only a handful have a noticeable impact on everyday photos. Menu names and available features vary depending on your Galaxy model and One UI version, so treat the steps below as a starting point to adapt rather than an exact match for every device.
Quick settings reference
| Goal | Recommended setting |
|---|---|
| Everyday photos | 12MP (pixel-binned), not max resolution |
| Natural colours | Reduce or disable Scene Optimizer’s picture analysis |
| Bright sunlight | EV around -0.3 to protect highlights |
| Low light | Force Night mode manually if it hasn’t triggered |
| Editing later | Expert RAW, on supported models |
Adjust Scene Optimizer for more natural photos
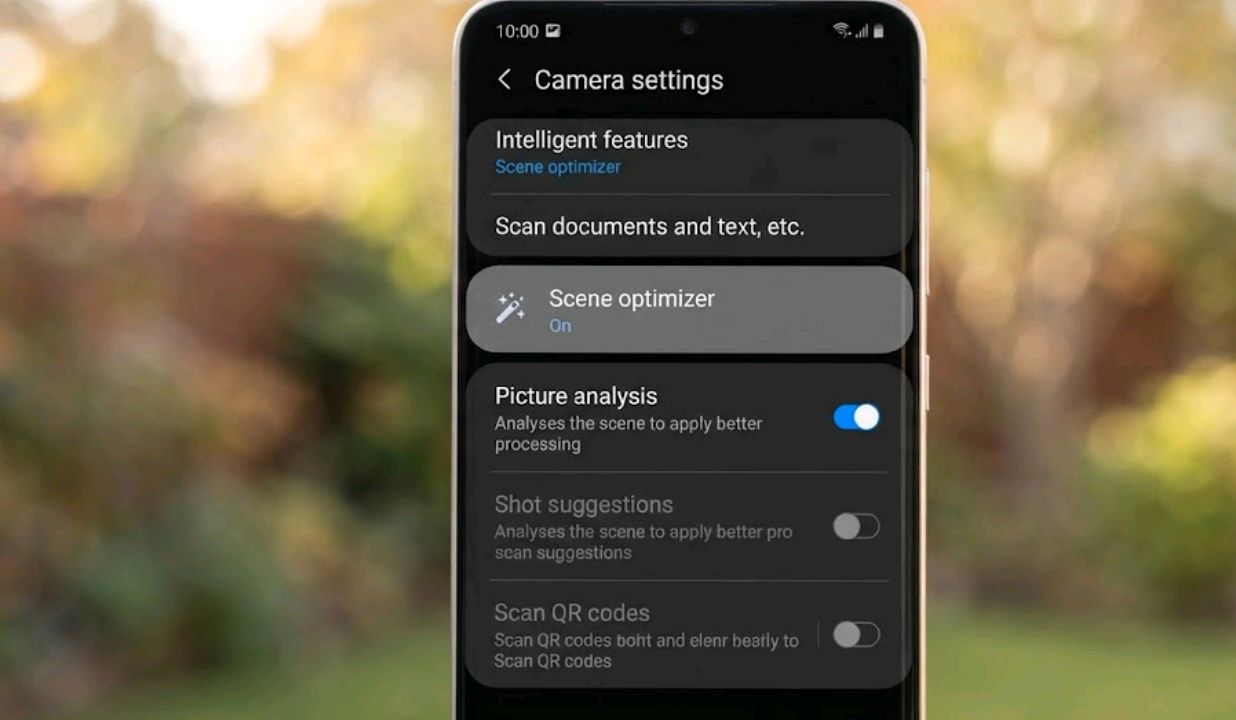
Scene Optimizer is the AI layer that decides your sky needs to be bluer and your food needs to be more saturated. It’s on by default, and for casual snapshots it’s genuinely useful. Some Galaxy phones running recent One UI versions include a “Picture analysis” toggle under Camera settings > Scene optimizer — turning it off is worth trying if you find your photos looking oversharpened or oversaturated, especially with skin tones. Scene detection itself stays active; what you’re removing is the extra processing layer Samsung applies on top of it. Not every Galaxy model exposes this exact toggle, so if you don’t see it, look for a general “Scene optimizer” on/off switch instead.
The Pro mode settings that actually matter
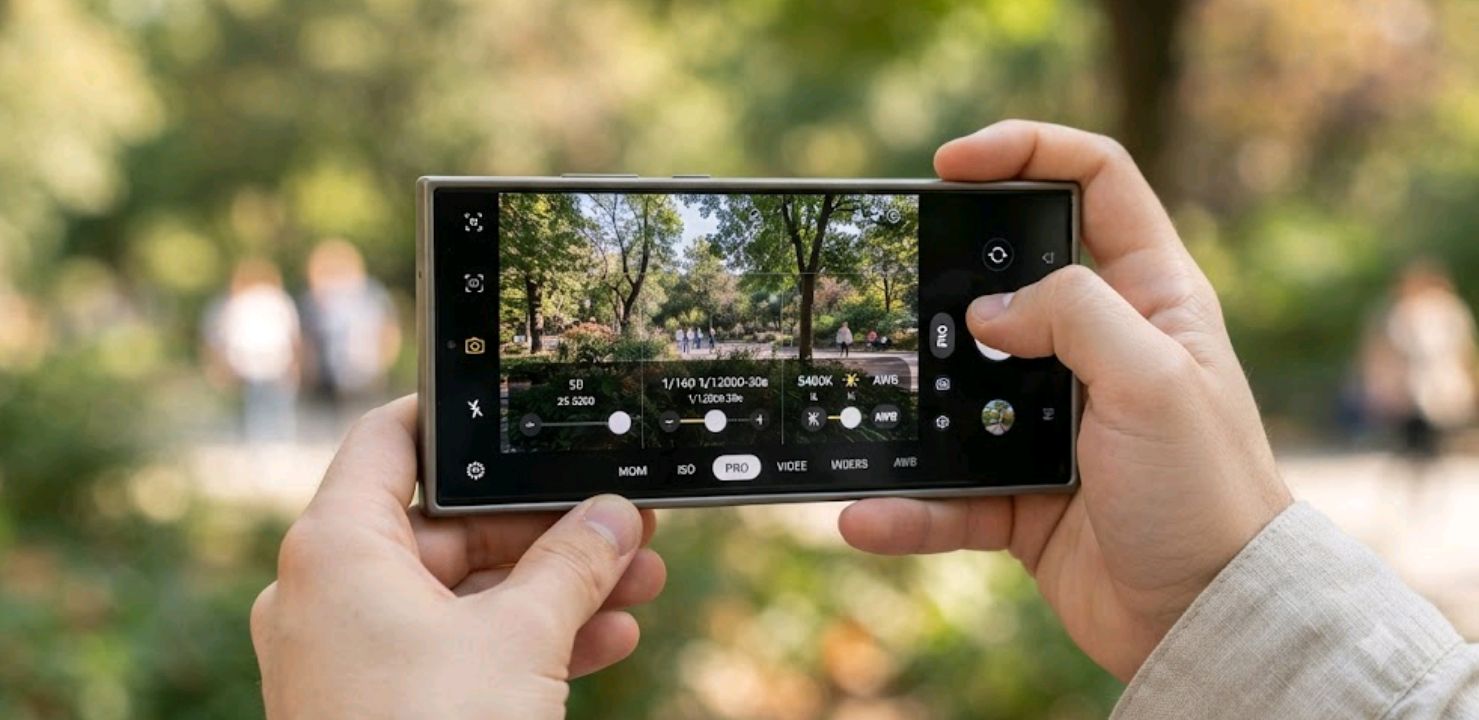
Most guides tell you to “just use Pro mode” without explaining what to touch. Here’s what moves the needle:
| Setting | What it does | Recommended starting point |
|---|---|---|
| ISO | Sensor light sensitivity | 50–200 outdoors, 400–800 indoors |
| Shutter speed | Motion blur control | 1/125s or faster for handheld shots |
| WB (White Balance) | Color temperature | Auto for mixed or changing light, manual when light is consistent |
| Exposure (EV) | Overall brightness | -0.3 to -0.7 to protect highlights |
| Focus | Manual sharpness point | Tap-to-focus on the subject’s eyes for portraits |
White balance is worth setting manually only when the light source stays constant for the whole shot — otherwise Auto WB adjusts faster than you can. As a rough manual starting point: golden hour sits around 4000–5000K, open shade runs warmer at 6500–7500K, and midday sun is closer to 5200–5600K. Nudge from there based on what the live preview shows rather than locking to one number.
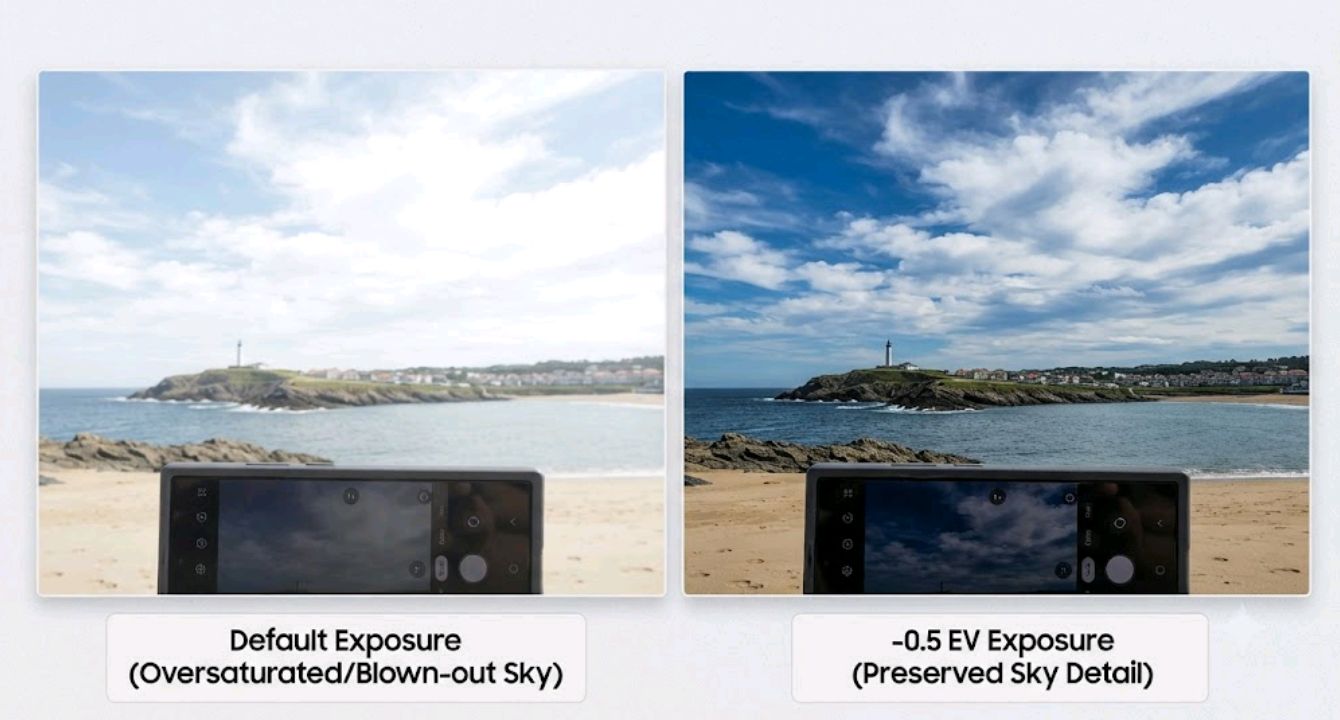
The exposure tip is the one people skip. In bright daylight, small overexposure in the sky or clouds is a common failure point on phone sensors generally, and it’s hard to recover in editing once highlights clip. Pulling exposure down a third to half a stop before shooting is a low-risk way to protect that detail, and you can always brighten shadows afterward — you can’t un-blow a highlight. In many daylight scenes, reducing exposure by about -0.3 EV helps preserve cloud and sky detail that default exposure may otherwise clip.
Resolution and file format trade-offs
If your phone supports 50MP or 200MP capture, resist using it for everyday shots. The default 12MP mode uses pixel binning, which combines data from several smaller pixels into one larger effective pixel. That improves light capture and reduces noise, particularly indoors or at dusk, at the cost of raw resolution. High-res mode skips that binning, so files get much larger without a clear sharpness gain on a phone-sized screen — a trade-off that matters more if you’re on a Nigerian data plan or working with limited storage on a budget Galaxy model. In casual comparisons between 12MP and 50MP shots of the same low-light scene, the 12MP pixel-binned version tends to hold up better precisely because of that binning. RAW capture (via Expert RAW) is worth it only if you plan to edit in Lightroom afterward; otherwise it just eats space for no visible gain. Keep in mind Expert RAW isn’t universal — it’s available only on supported Galaxy devices, primarily higher-end Galaxy S, Fold, and selected tablet models, so budget and older Galaxy A-series devices typically won’t have it in the Galaxy Store at all. See Samsung’s official Expert RAW guide for the full feature breakdown and current device list.
Night mode isn’t automatic — here’s when to force it
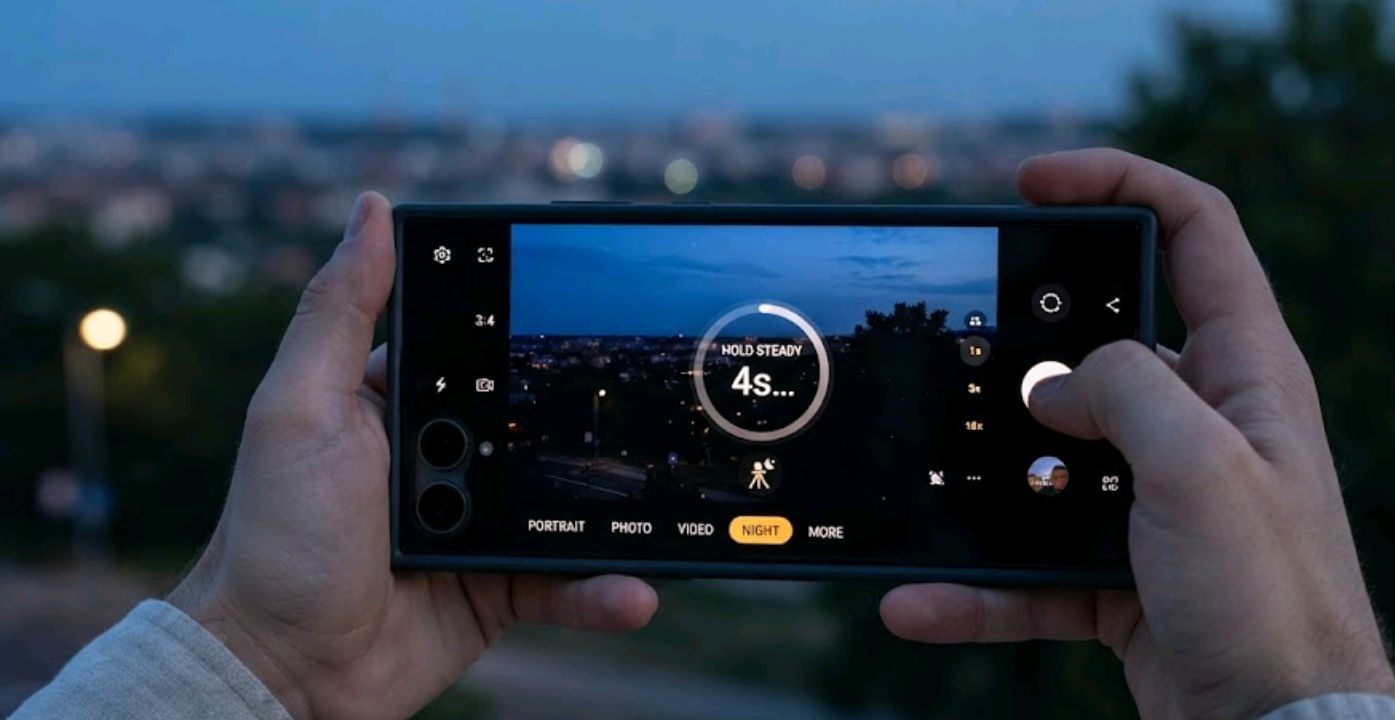
Night mode triggers based on ambient light, but it sometimes waits too long to kick in during dusk or indoor low light. You can force it manually from the mode carousel instead of waiting for the automatic prompt, which noticeably improves shots in mixed lighting.
A few things make or break a Night mode shot once it’s triggered:
- Hold steady until the capture finishes. Night mode stacks multiple exposures over a few seconds — moving the phone mid-capture smears the whole image, not just part of it.
- Use a tripod or prop the phone against something solid if the exposure runs longer than a couple of seconds. Samsung’s Pro mode and Night mode both show the countdown on screen, so you’ll know how long you need to stay still.
- Avoid Night mode for shots with moving people or pets. The multi-frame stacking that makes static scenes look clean will ghost or blur anything that moves between frames — a faster shutter speed in Pro mode handles that better, even with more visible noise.
If night shooting is a regular thing for you, it’s worth pairing these settings with a phone actually built for it — we go deeper on hardware choices in our best phones for night photography guide. For Samsung’s own walkthrough of manual controls, their Pro Mode support page covers the same ISO, shutter, and white balance options referenced above.
The short version
You don’t need to master every Pro mode setting to improve your photos. For most Galaxy owners, shooting in 12MP, dialing back aggressive Scene Optimizer processing, and lowering exposure slightly in bright scenes will produce more natural-looking images without any extra editing. Everything past that — manual white balance, Expert RAW, forcing Night mode — is worth learning once those basics feel routine, not before.
FAQ
Does turning off Scene Optimizer make photos worse? Not worse — different. You lose automatic color boosting but gain more natural, true-to-life tones, which most photo editors actually prefer to start from.
Should I shoot in 12MP or the phone’s max resolution? Stick with 12MP (pixel-binned) for daily use. Reserve max resolution for print-quality shots where you’ll crop heavily.
Why do my Samsung photos look oversharpened? On models with a Picture analysis toggle, that’s the most likely cause. Disabling it under Camera settings > Scene optimizer usually softens the effect, though the exact menu path can shift between One UI versions.
Does Pro mode drain the battery faster? Marginally, mainly from the screen staying on longer while you adjust sliders — not from the sensor itself.
Is Expert RAW worth installing? Only if you edit photos afterward. For quick social posts, standard mode with the settings above is enough.
Looking for the hardware side of the equation? Check our guides on phones with the fastest charging in 2026 and the best phones under $400. iPhone user instead? Our iPhone camera settings guide covers the equivalent tweaks, and gamers should see our bypass charging for gaming phones roundup.


Comments 0
Leave a comment